
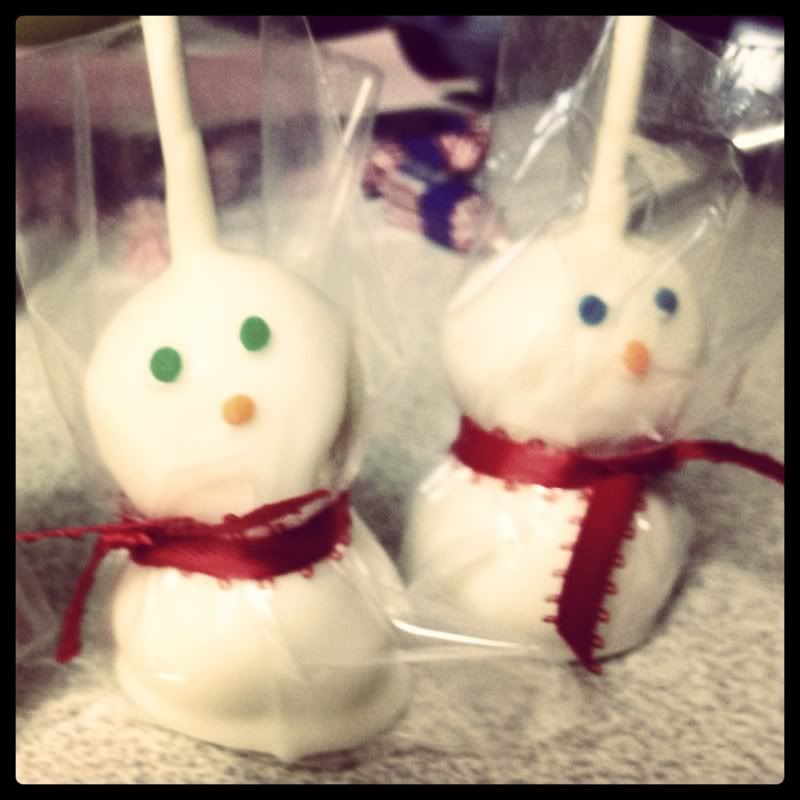
One of the gifts I gave a few people this year was membership in my inaugural "Cake Pop Club". This means I am committed to making cake pops at least bimonthly and making sure they're delivered on time (yikes!). I saw these snowmen on Pinterest (where else?) and made these as their introductory pops.
I know there are several ways to make cake pops, but I've only tried one way. Bakerella is the one who introduced me to cake pops and inspired me to make my own, and I use her method faithfully. She has a great video tutorial here that you should definitely watch if you have any interest in cake pops! I'm going to share a mini-tutorial on how I made these, but trust me, Bakerella is the expert.
1. Start with a box of cake mix, whatever brand you can get on sale. I usually use chocolate or vanilla, but the fun part is you can use whatever floats your boat. I bake it per the directions on the box, but I pull it out of the oven a few minutes early. You want the cake to be cooked through but not burnt at all on the top, because that makes the next step harder.
2. Once the cake is cooled, crumble it up into a big bowl.
3. Add frosting. Some recipes say a whole can, I have found that I usually use a little less than half a can. Mix the frosting into the crumbled cake a little at a time, until it forms a dough.
4. Using your hands, roll the dough into balls and set on a cookie sheet. I aim for about 1 1/2 inches in diameter; the bigger the cake balls, the harder they are to dip. Place the cake balls into the refrigerator for at least an hour.
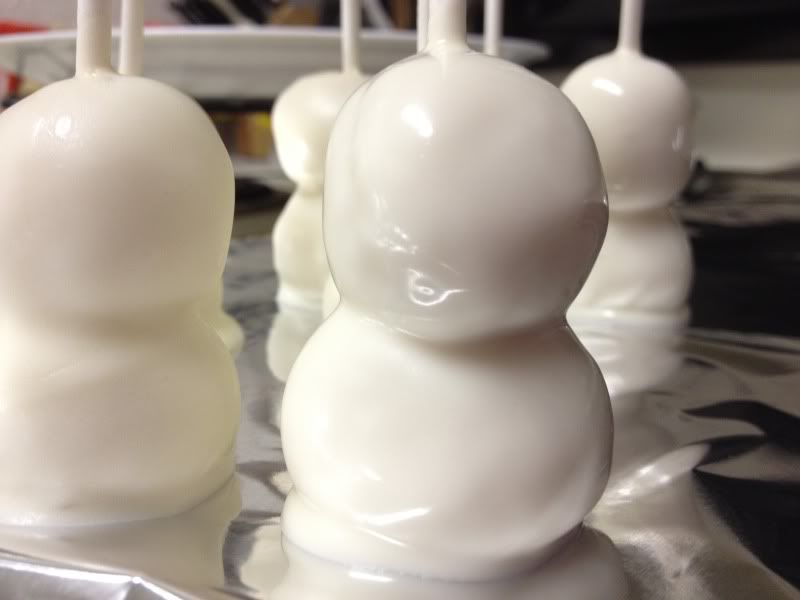
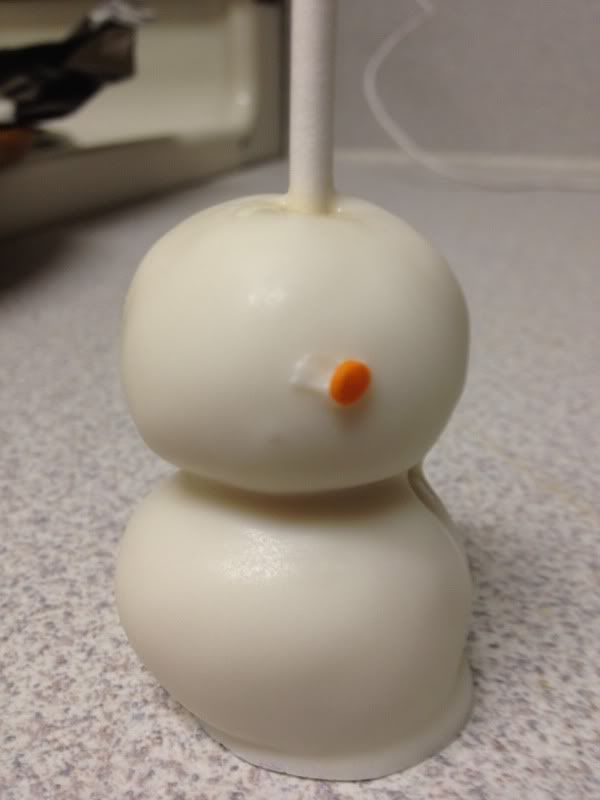
5. Now comes the fun part! Place two balls on each lollipop stick. The stick should go all the way through the top ball, and about halfway through the second.

8. Set the dipped snowmen on foil or wax paper to harden. Aren't they adorable?
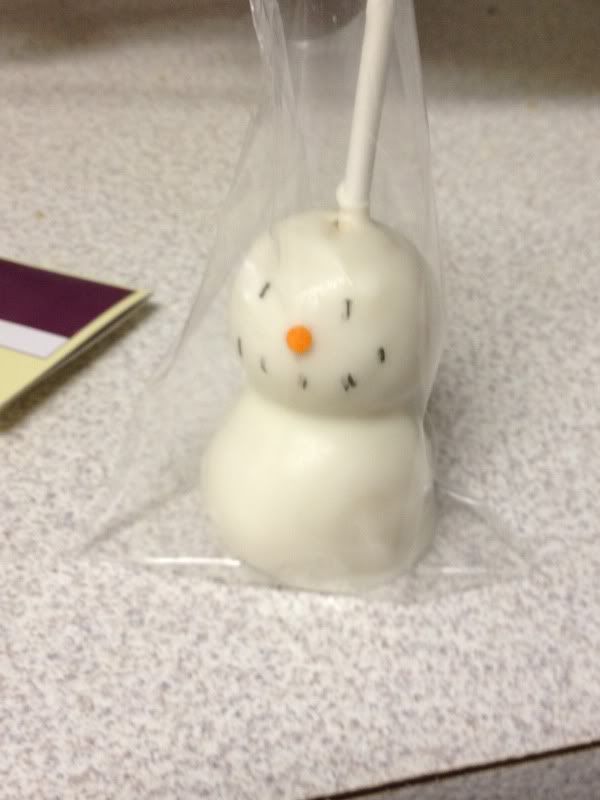
Add a plastic treat bag and some ribbon, and you're all set!
Those turned out adorable! They look just like real snowmen!
ReplyDeleteThanks Megan! Your blog is hilarious. I added it to my RSS Feed :)
ReplyDelete