Showing posts with label crafts. Show all posts

Thursday, April 19, 2012

My Coupon Binder

I really thought I'd never be one of those crazy girls with a coupon binder. But the coupon system I had wasn't working for me. I would cut out some random coupons for stuff I normally bought, shove it in a plastic envelope I kept in my purse, and then desperately try to remember what coupons I had without pulling them all out in the grocery store. Not much of a system, and I was throwing away more coupons than I used. I knew it wasn't working, and I tried a few things to keep track of what I had--even going so far as creating an excel file on my computer with all the coupons I'd cut, which I updated a total of once.

When my sweet friend Becky showed me her coupon binder, I was hooked. Even though I'm not a fanatical couponer, I thought her binder was great and I thought it was a great solution to my organizational problems.

So the very next day, I headed to Office Depot and stocked up on coupon binder necessities.

Here it is in all it's glory! It's a little embarrassing how proud I am of this binder.

I started with a basic 1 1/2 inch binder. I could've gone a little bigger, but since it's just Josh & I, I don't have that many coupons, and I wanted something I could manage easily.

I bought tabs prenumbered from 1-31. These were about $8.

Then I added trading card protector sheets in between each tab. These were on sale for $3 for a pack of 10, I started with 30 of these (one between each tab) and that's working out well for now.

My only complaint is that not every coupon fits nicely in these slots--some are way too big and needed to be folded. I know there are other options out there for inserts, and I may look into those, but for now these work alright.

I used The Krazy Coupon Lady's binder Table of Contents as a jumping off point. Some of her categories weren't relevant to me, and there were a few I added (breads, meats, etc.) I printed a pretty list and used a plain sheet protector to place it at the front of the binder.


At the very front of the binder, I placed a plastic pocket to store a notepad, pen, and scissors.


I'm already feeling so much more inspired to cut and use coupons! I can't wait to get the Sunday paper and add to my stash.


Wednesday, January 4, 2012

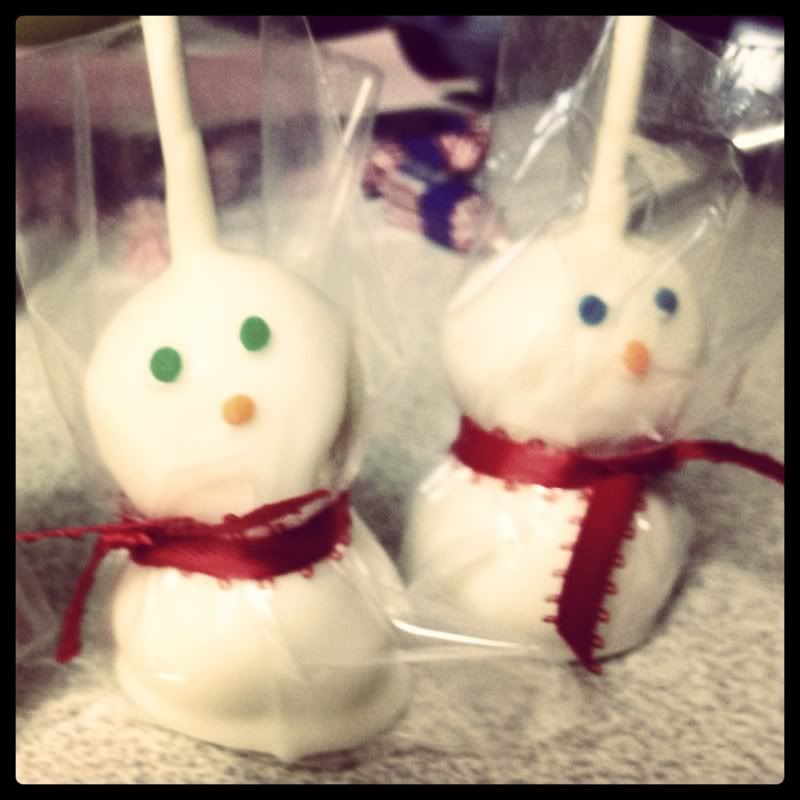
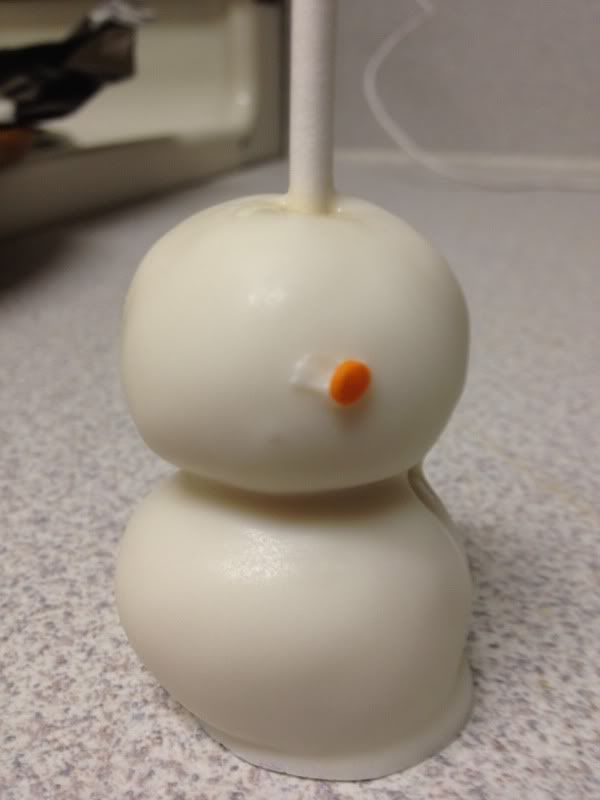
Snowman Cake Pops!

I made Snowman Cake Pops for my family this weekend, and I pretty much love them!

One of the gifts I gave a few people this year was membership in my inaugural "Cake Pop Club". This means I am committed to making cake pops at least bimonthly and making sure they're delivered on time (yikes!). I saw these snowmen on Pinterest (where else?) and made these as their introductory pops.

I know there are several ways to make cake pops, but I've only tried one way. Bakerella is the one who introduced me to cake pops and inspired me to make my own, and I use her method faithfully. She has a great video tutorial here that you should definitely watch if you have any interest in cake pops! I'm going to share a mini-tutorial on how I made these, but trust me, Bakerella is the expert.

1. Start with a box of cake mix, whatever brand you can get on sale. I usually use chocolate or vanilla, but the fun part is you can use whatever floats your boat. I bake it per the directions on the box, but I pull it out of the oven a few minutes early. You want the cake to be cooked through but not burnt at all on the top, because that makes the next step harder.

2. Once the cake is cooled, crumble it up into a big bowl.

3. Add frosting. Some recipes say a whole can, I have found that I usually use a little less than half a can. Mix the frosting into the crumbled cake a little at a time, until it forms a dough.

4. Using your hands, roll the dough into balls and set on a cookie sheet. I aim for about 1 1/2 inches in diameter; the bigger the cake balls, the harder they are to dip. Place the cake balls into the refrigerator for at least an hour.

5. Now comes the fun part! Place two balls on each lollipop stick. The stick should go all the way through the top ball, and about halfway through the second.

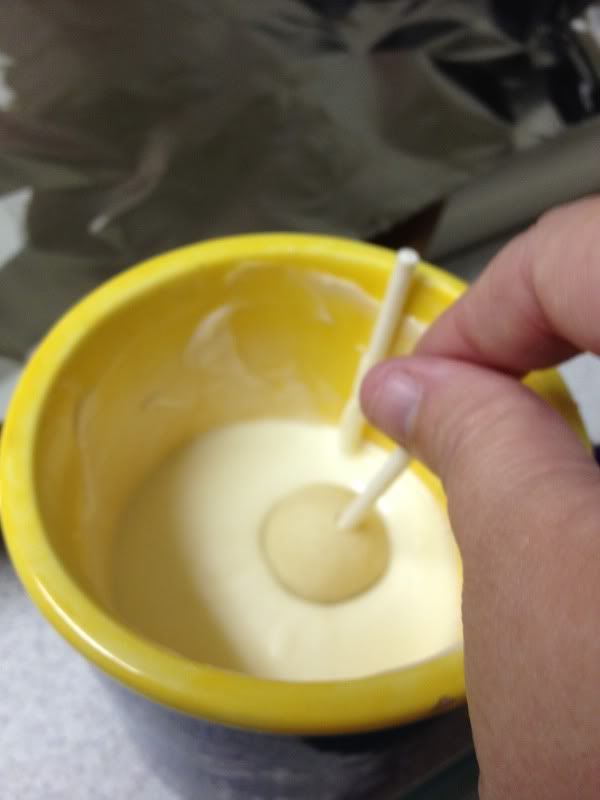
6. Melt your  white candy coating. I use Wilton Candy Melts, because they're readily available at craft stores in a variety of colors. You can melt them in the microwave, stirring every 30 seconds until completely melted. For the snowmen, I used a tall coffee cop to melt the candy, so it would be deep enough to dip the entire snowman. One trick I learned from Bakerella is to add vegetable oil to the melted candy. It makes it so much easier to dip. I added about 1 tbsp for the 12 oz bag of candy melts.

7. Gently dip each snowman into the melted candy. If it the candy doesn't make it all the way over the top of both cake balls, tip the cup or gently tip the snowman. Don't stir--it'll make the cake balls slide off the stick. Trust me, I've lost many a cake ball in a pool of melted candy.

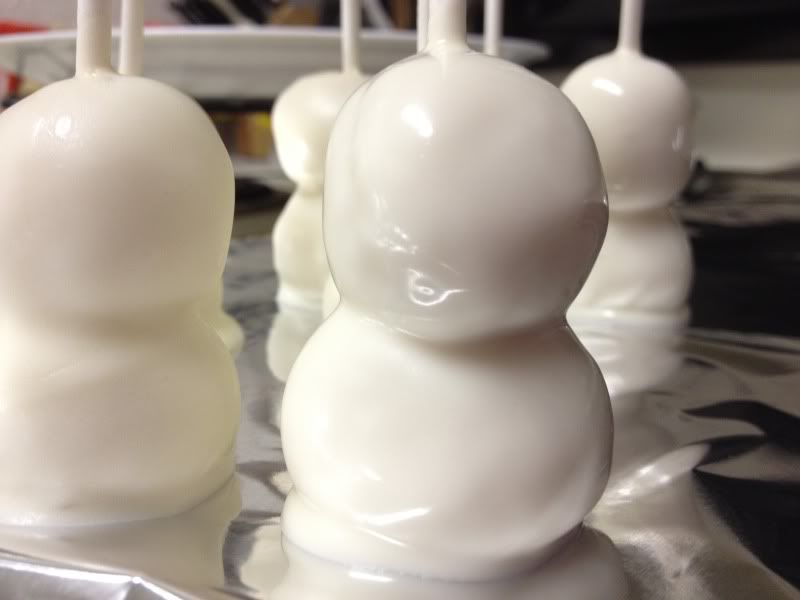
8. Set the dipped snowmen on foil or wax paper to harden. Aren't they adorable?
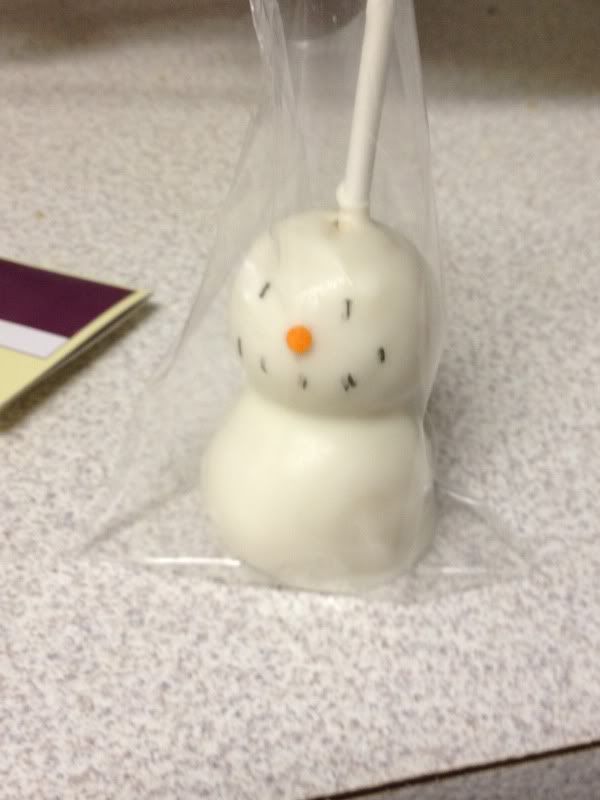
9. As the candy hardens, it turns matte instead of shiny. Once they're set, you can add their facial features and give them some personality! I used candy sprinkles for their noses, using a little extra melted candy to attach it. For the eyes and mouth, I tried an edible marker for some of them.

Add a plastic treat bag and some ribbon, and you're all set!

Wednesday, December 28, 2011

Pinterest Love, Part II

Not along ago I shared with you the projects and recipes I had already completed from all the pinning I do on Pinterest. (Speaking of, did you see the new button I added? To the right? It says "Follow Me on Pinterest". Click it. Because once you follow me, I can follow you back, and I always need new inspirational people to follow and repin!)

The ratio of what I have pinned "to do" and what I have actually done is about a bajillion to one. I chose my favorites from my Craft & DIY board, otherwise I'd still be staring at all my pins trying to pick favorites! Here are some of the things on my list to do...

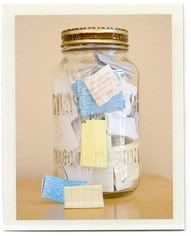
Memory Jar (credit)
This is something I pinned a long time ago and have been really excited about doing for the new year. Actually, it's good that I'm writing this, because I've been so excited about it that I forgot to get it ready! The good news is, this is an extremely simply project--just a mason jar and some slips of paper. I want to use it to record the little moments of 2012 that we would normally not remember, and then next New Year's Eve, we can read them all.

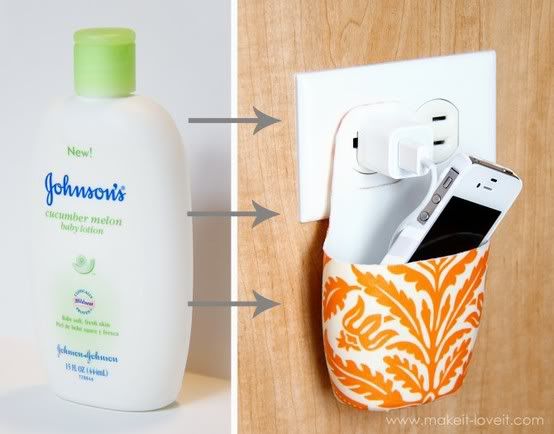
Lotion Bottle --> iPhone Charger (credit)
This is one of those pins that is so simple yet so amazing! I am constantly plugging my iPhone in wherever I can find a plug, usually in the kitchen while I'm cooking dinner. And while nothing has happened yet...let's just say my odds aren't good. This is a cheap solution, and so cute! I can't wait to make this.

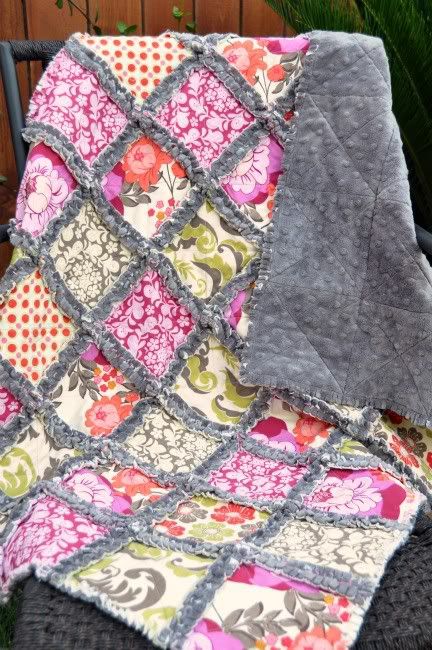
Rag Quilt (credit)
Oh.My.Word. I am in love with this quilt! In college, my roommate and I went through a phase where we made rag quilts for everyone we knew. Let's just say the phase ended with a broken vacuum cleaner and lots of blood. The quilts did turn out pretty though. And since it's a rag quilt, details aren't so important, so I am sure I can manage this. I especially love the way the grey creates borders on this one, and the color and fabric choices are gorgeous. 

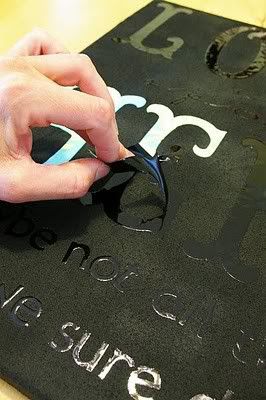
DIY Quote Canvas (credit)
I have seen a couple of different versions of the DIY Quote on Canvas. There's this one, which I love, and also one with wooden letters glued onto the canvas and painted the same color, which I love as well. I can't decide which one I actually want to make. I also have a couple of quotes and song lyrics that I can't decide between... I may end up making both types of canvases so I don't have to choose!

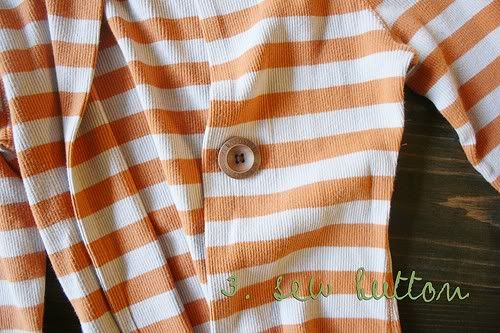
No-Sew Cardigan (credit)
I am in love with this. As I've said, I can sew sort of a straight line, but the idea of no-sew appeals to me much more. I really want to go scour a thrift store for a cute long sleeve shirt and do this! A little bit of stitch witchery and a button... I can handle that!!

So there's a few of my favorite pins that are on my to-do craft list. One of my news year's resolutions is to actually start and finish projects, so hopefully I'll get these done!

Do you have any projects on your "to-do" list? How do you motivate yourself to start and finish them??


Sunday, December 18, 2011

Pinterest Love, Part I

Oh, Pinterest, how I love thee. (If you are a female, and have not yet become addicted to Pinterest, please leave me a comment so I can send you an invite so you can share in the joy). Some of the girls at church are planning a Pinterest craft day, so that we can accomplish some of the many things we have pinned and have yet to actually do.

So in the spirit of Pinterest, and how much there is to love, I thought I'd share a few of my favorite pins that I have actually done (go me!). These are mostly recipes, because I have to cook so I might as well make something fun. Unfortunately, at this point in my life, I don't have to craft, so those things get left undone.


Bacon & Egg Toast Cups (credit)
This is like a fancy twist on one of my favorite breakfast staples, the egg-in-a-hole. Yum. Basically, it's a circle of bread (I used a drinking glass to cut them out) pressed into a muffin tin, add a slice of bacon, and an egg. Bake at 350 until the white of the egg is set. These were easy, and delicious, and now my husband wants them all the time.

Buffalo Chicken Dip ("Crack Dip") (credit)
 Another yum. I have a slight obsession with all things buffalo sauce, and have done everything from buffalo chicken mac & cheese to buffalo chicken calzones. So this dip is right up my alley. And considering it uses one of my secret kitchen shortcuts, canned chicken breast, it was super easy. I served it at a church potluck with some Wheat Thins, and it was a hit.

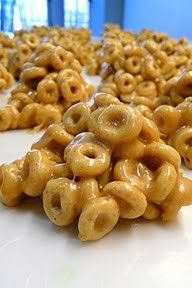
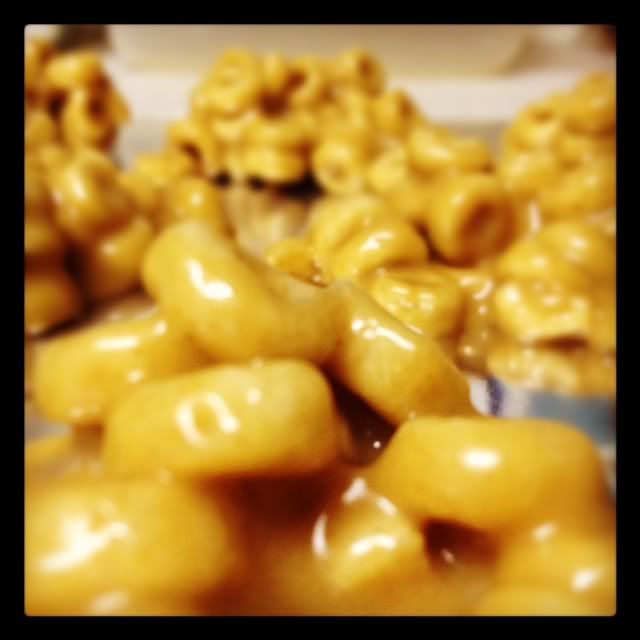
Peanut Butter Cheerio Treats (credit)
If you are looking for a simple and delicious snack or dessert idea, this is the recipe for you.  I'm generally wary of things that call for boiling sugar, because I don't have a candy thermometer, and don't want one (see my last post) and I usually end up over boiling or under boiling the sugar. I took a chance on these and made them for my family when we went camping for Thanksgiving. I consider it a success when my picture (on the right) looks almost as good as the one on Pinterest!


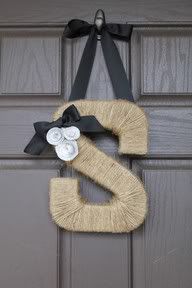
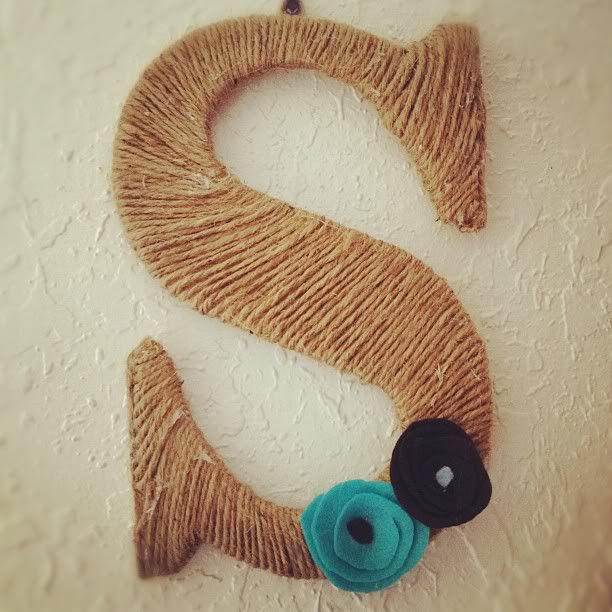
Twine Wrapped Letter (credit)
The first (and only!) Pinterest craft I have completed so far. I saw this on Pinterest, but I actually saw one that my friend Ashley made first. Again, mine is the one on the right. This project involved a wooden letter from Hobby Lobby (I've heard paper mache may be better, but they were out of S when I went), a ball of twine, and an absurd amount of hot glue. Especially around the ends, I think there may be more hot glue than twine. I love how it turned out though! It is currently hanging above our key hook, and it makes me smile every day. 


So now you can begin to understand my addiction to Pinterest. Next time I'll show you some of the things I want to make!

Thursday, December 15, 2011

The Opposite of Perfectionist

Admission: I am so not a perfectionist. So not detail oriented. Also, I am one of those people who starts things with really great intentions, and then gets three quarters of the way through and never finishes.

 My parents would tell you this is not a recent development. Throughout childhood, I attempted a variety of sports and hobbies--swimming, jazz dance, horseback riding, tap dance, softball... I always wanted to quit midway through the season.

These traits combined lead to some pretty cool projects that I start and then give up as soon as there are details or precision measuring involved. I have really great intentions, but not a lot of follow through.


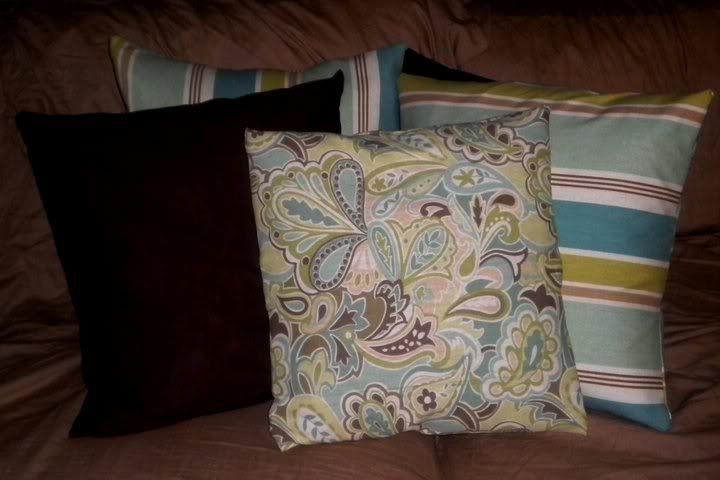
Not long ago, I decided it would be not too difficult to make some covers for our couch pillows. I have a sewing machine, I sort of know how to use it. How hard could this be?


They are pretty cute, right? What you don't see is the unfinished edges (that frayed in two days), the uneven stitching (meh, I couldn't be bothered to iron or pin or any of that detail-y stuff!) and the loose seams that ripped open in a few weeks. Oops. (For your information, I went back and fixed the loose seams several months later. And left the edges unfinished. They are still fraying.)

I can't even finish my coffee. Ask my husband, I drink 3/4 of a cup and then leave the rest sitting there. Every single day.

Early this morning at work, I got the dreaded email from accounting saying my last bank deposit had been off. So I pulled the reports, checked it out, and realized I had not made one mistake but three. Yikes.

I thought at some point that I could be ADD. That would be a great excuse for the lack of attention to detail, and the distraction halfway through. Except I know deep down that's not really the case. Most of the time, the truth is that I'd rather be curled up in my pajama pants, reading a good book.

A good book. Now that's something I've never had a hard time finishing.